Find and install skills
Find a skill, read what it does, and choose the AI tools that can use it.
Start with a skill someone has already written, or bring in one you keep elsewhere.
Find one
Open the catalog
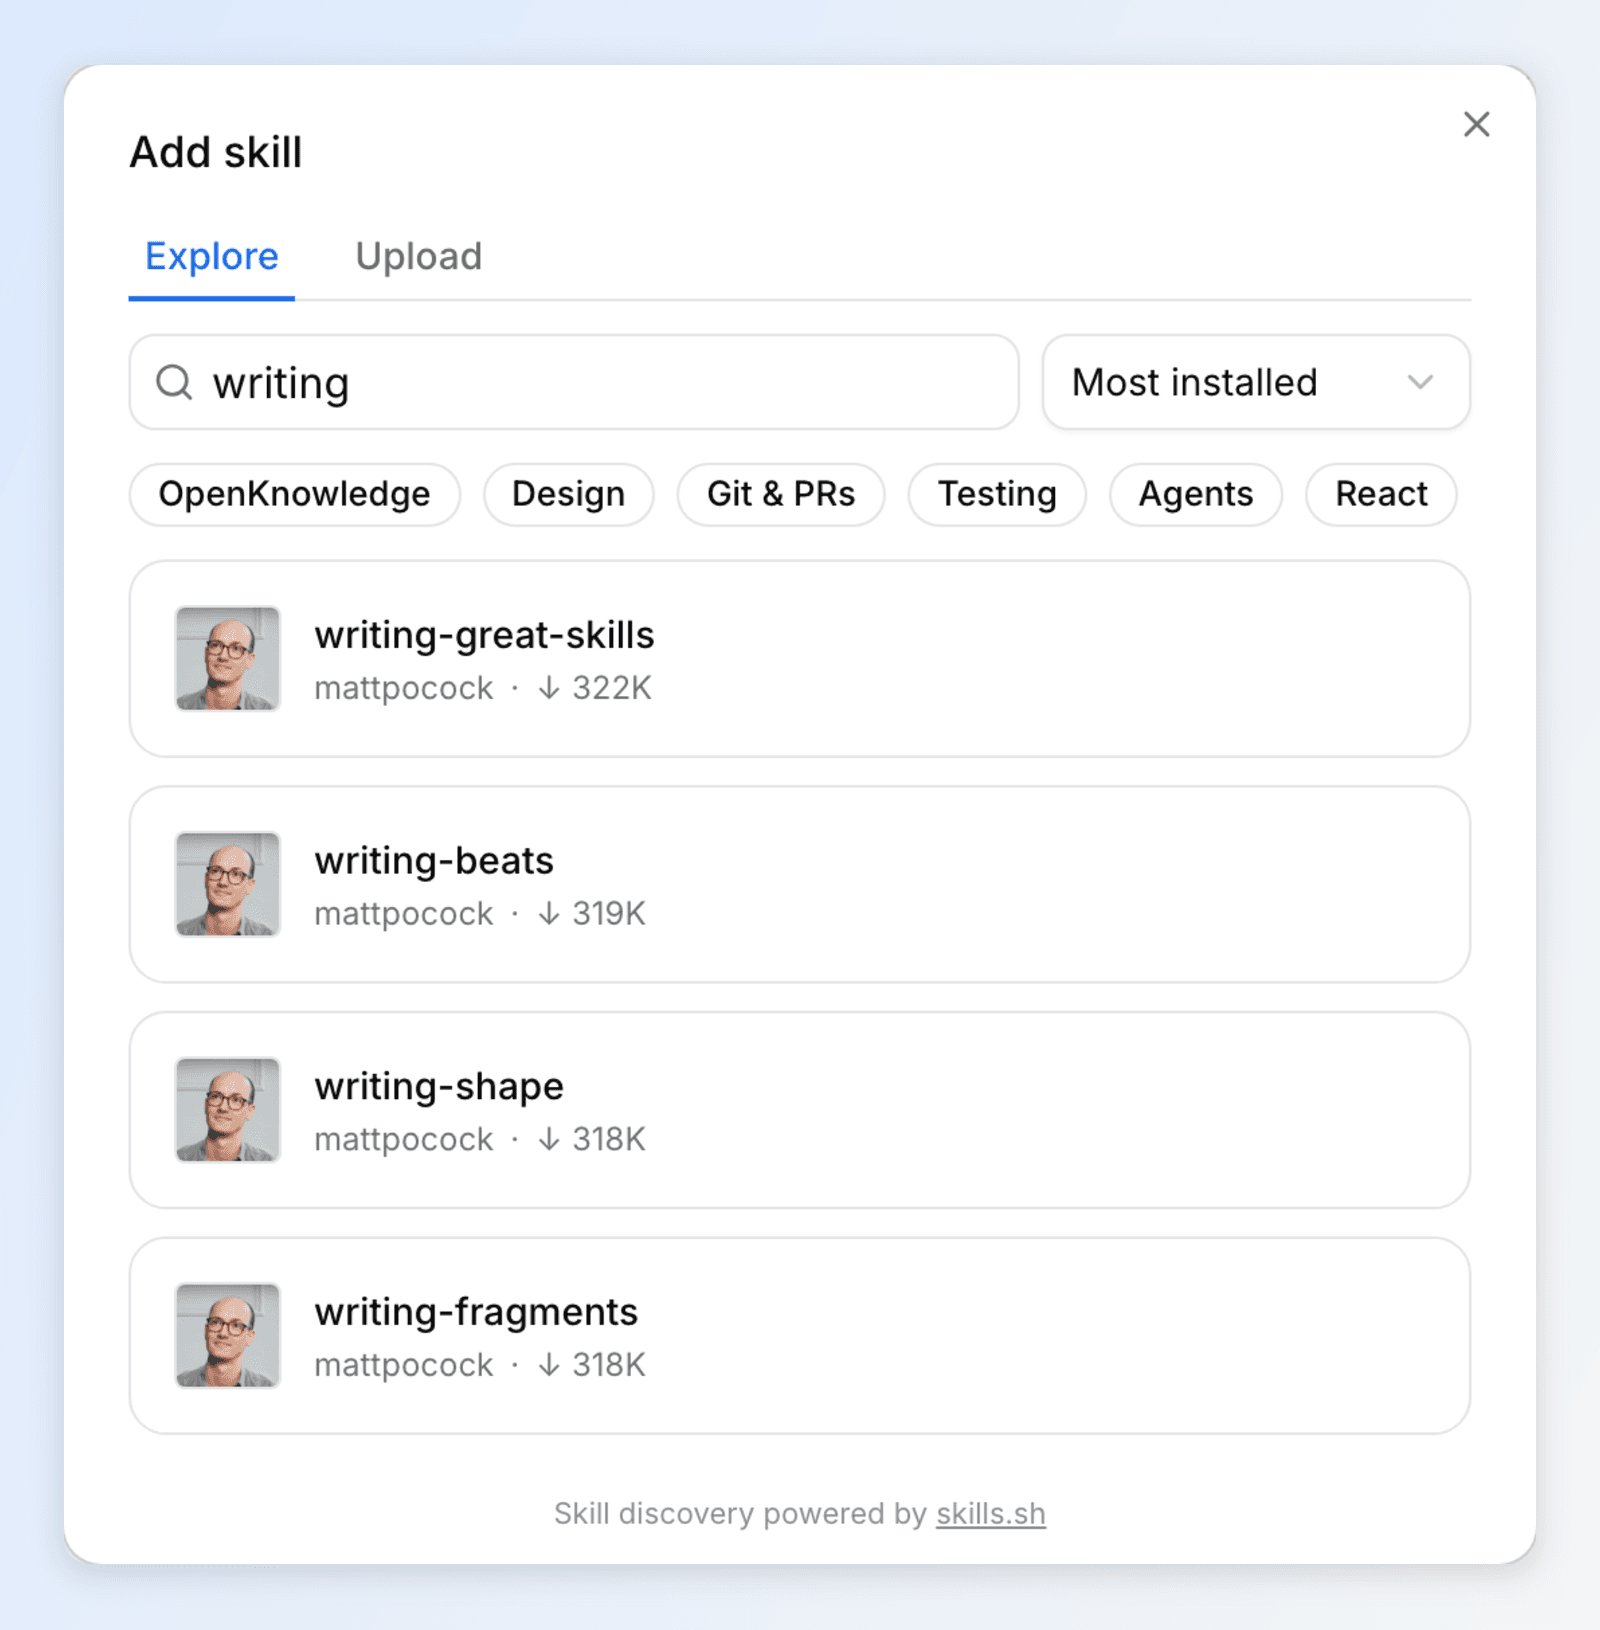
Hover the Skills Studio dock header and click Explore skills. Search skills.sh for a task, such as writing or research.
Read it before you add it
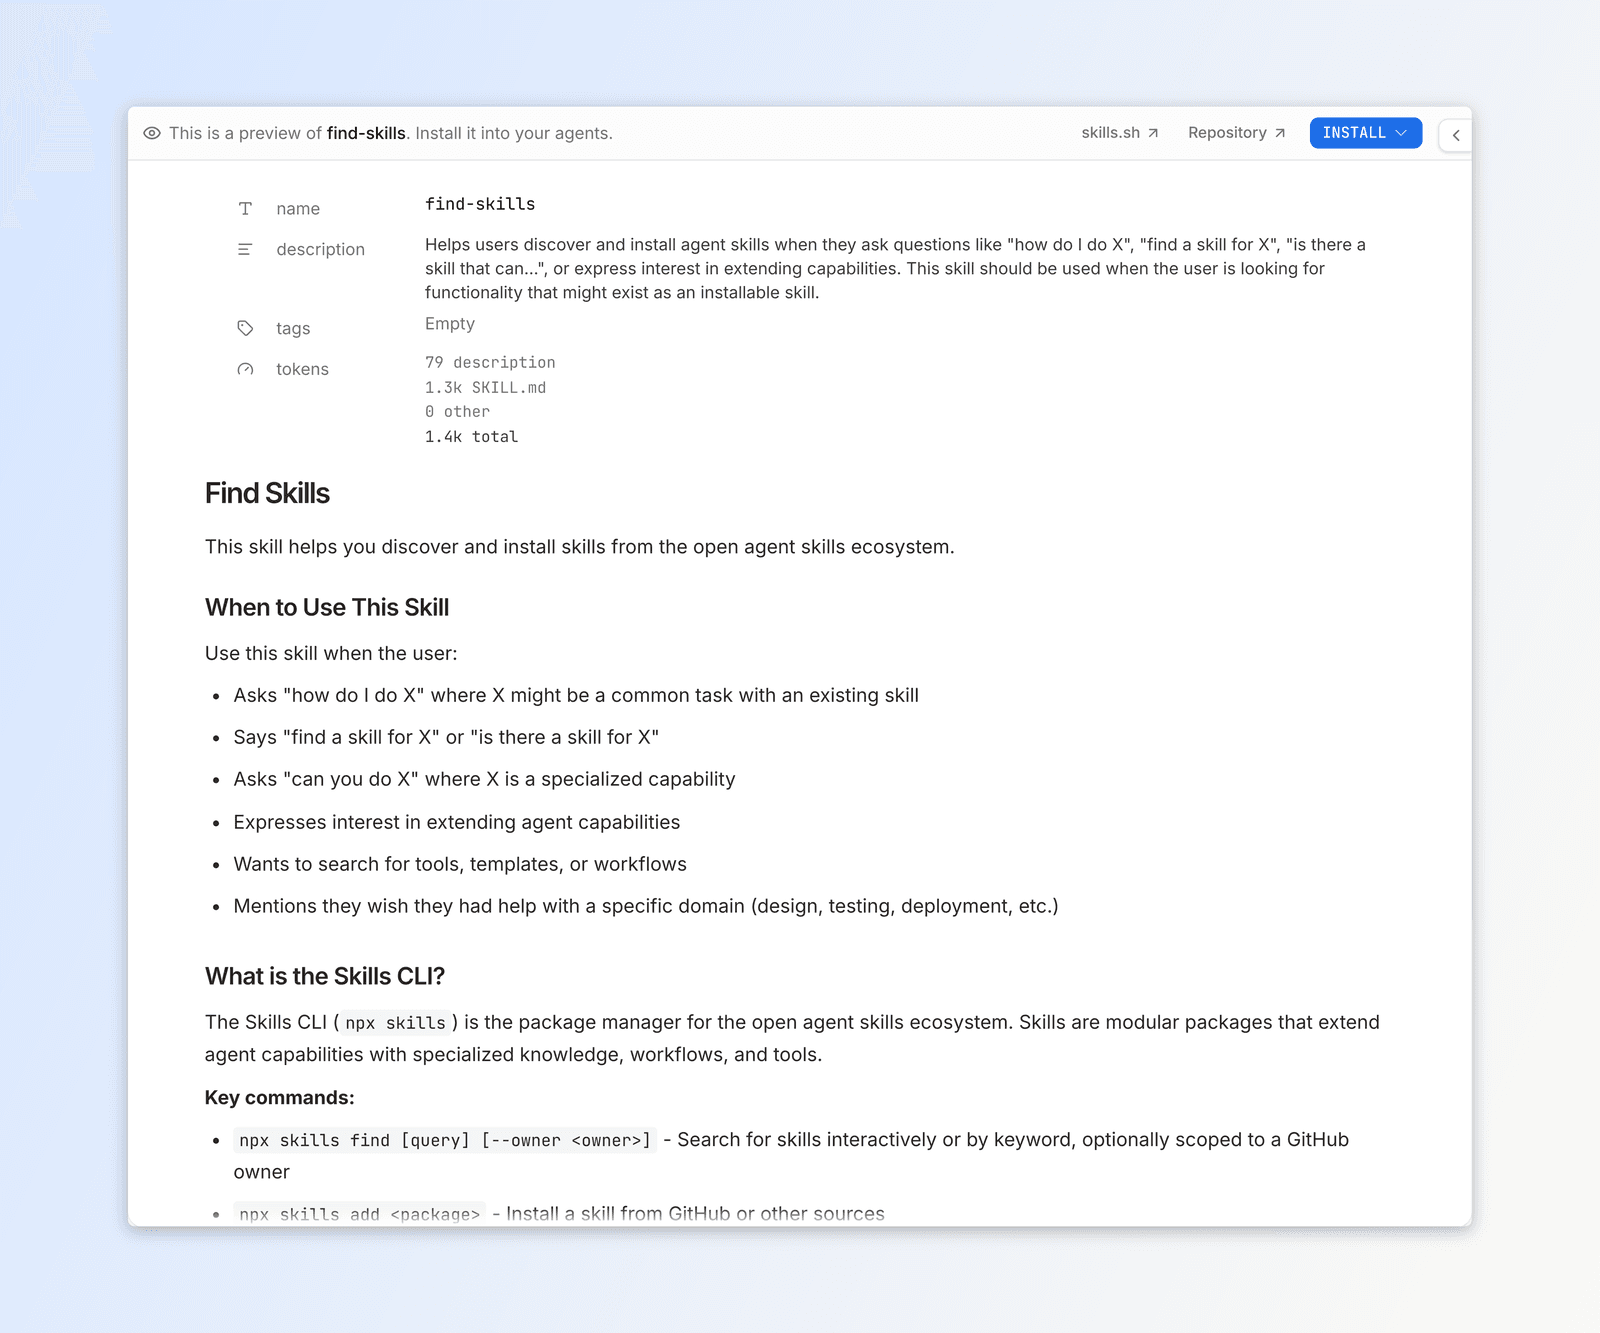
Open a result to see its full instructions, its bundled files, and how much context it costs. Install takes it from here, at Project or Global scope; if the source holds several skills, choose the one you want.
Choose your AI tools
Open the skill's Install menu and check the tools that should use it, or All.
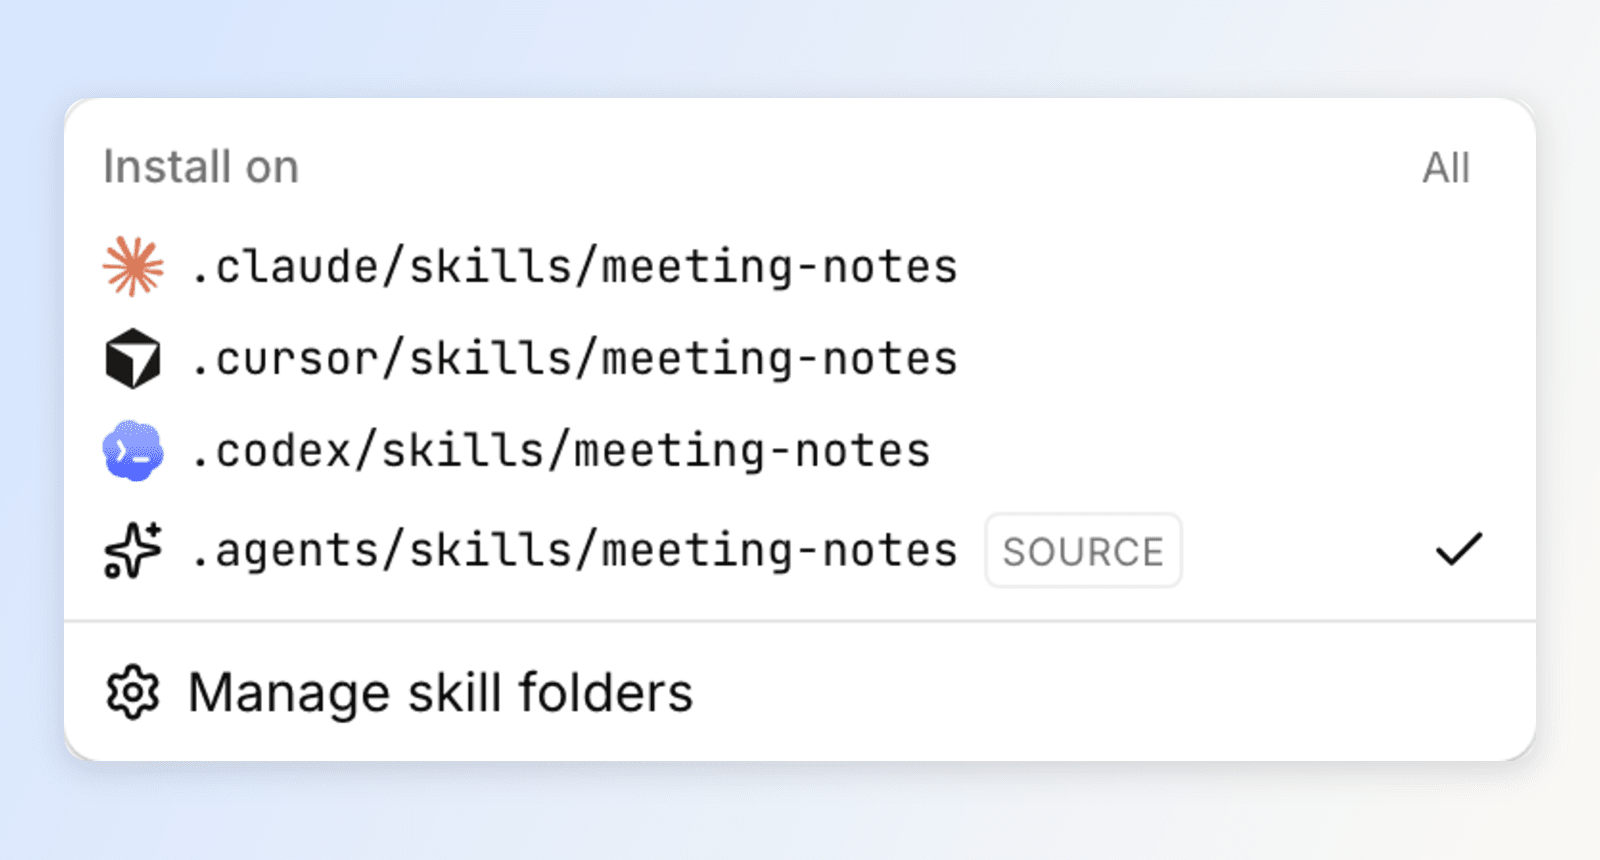
Each checked location points at the same source, so your tools cannot drift. Where the system does not allow symlinks, such as Windows without administrator rights or Developer Mode, a location gets a copy that refreshes from the source while unedited. Symlink skills covers sharing a whole folder instead.
A skill is live for its agent the moment it lands. There is no separate install step to flip: the menu controls where it is available.
Bring one you already have
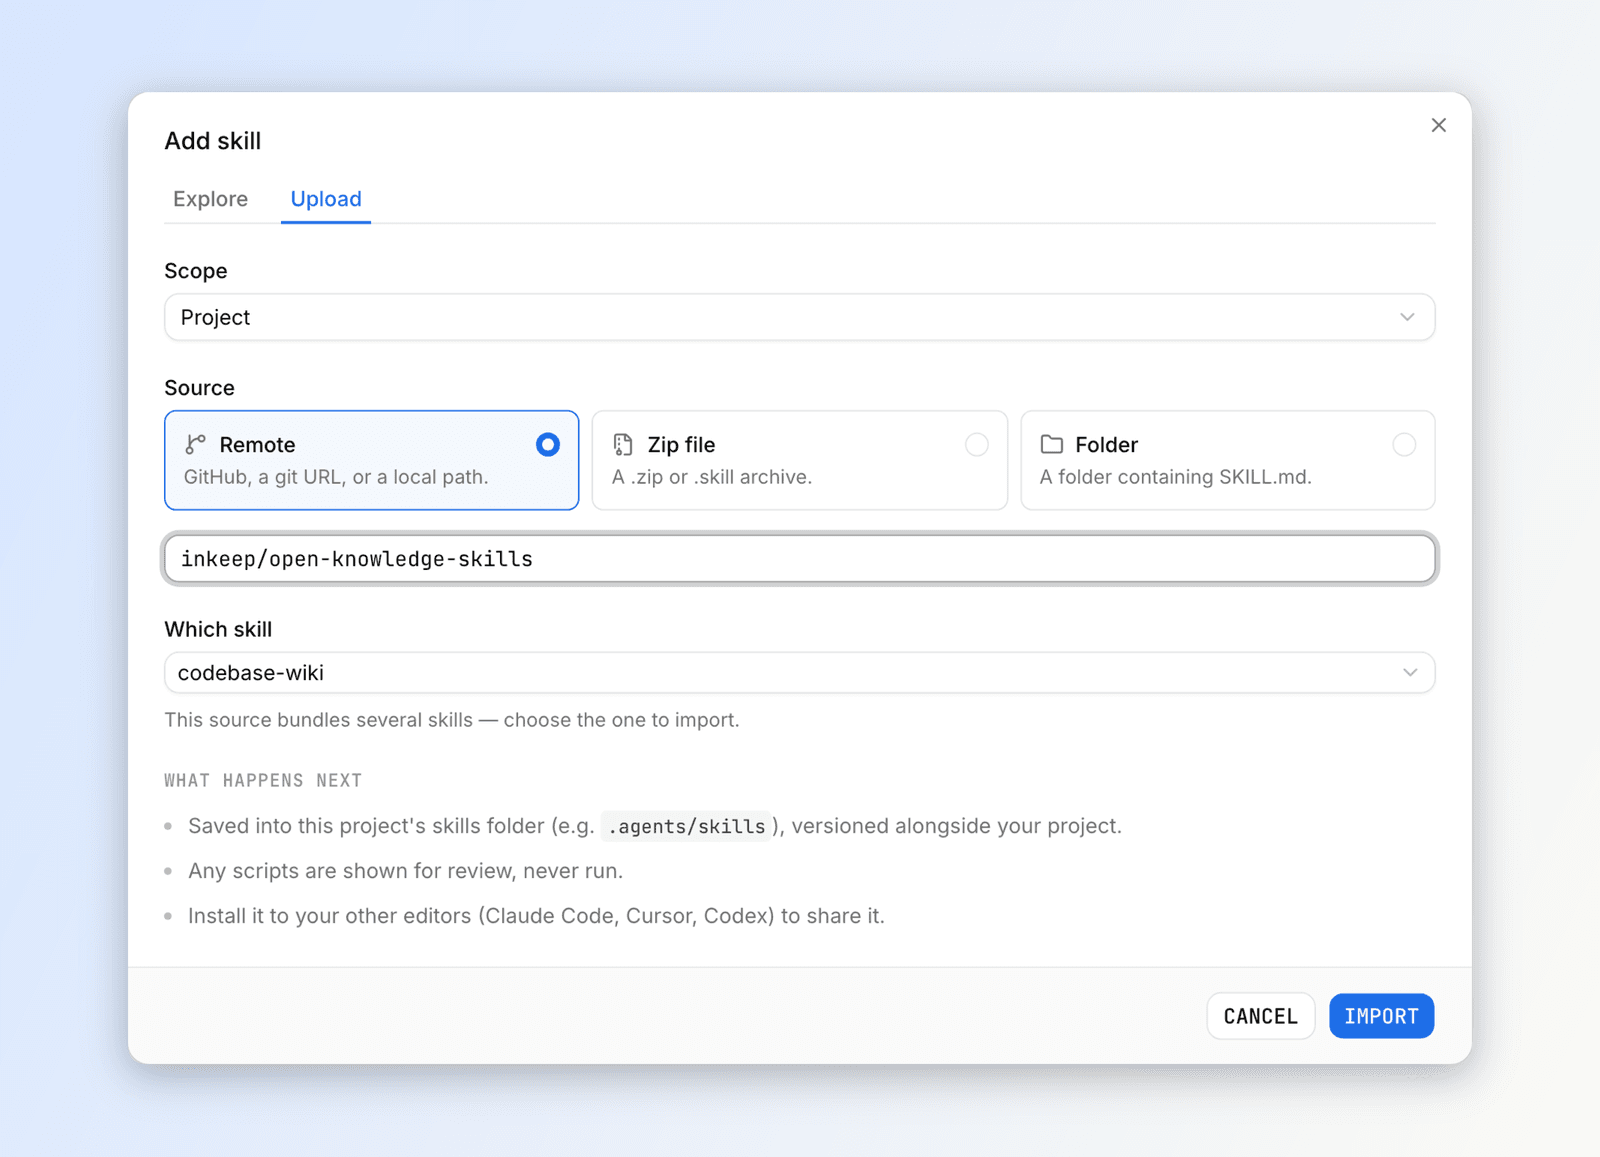
Use the Upload tab. It takes a GitHub repository, a git URL, a local path, a folder, or a .zip / .skill file.
Skills already in your AI tools' folders show up in the dock on their own. Open one to edit it in place; a read-only plugin skill offers Edit a copy.
A skill can include scripts that run on your machine. Read what it does and use sources you trust. OpenKnowledge does not run a skill's scripts during import.
Keep it up to date
An imported skill remembers where it came from.
| What you see | What it means | What to do |
|---|---|---|
| Update from source | The source moved since you imported the skill. | Open it to read the diff, then apply it. |
| Auto-update | Off by default, per skill. | Turn it on for a source you want to follow without reviewing each change. |
| Modified | You edited your copy, which pauses its automatic updates. | Keep your version, or Revert to the imported original. |
Skills imported from a folder on your own machine stay in sync by default.