Install your team's skills
Add your team's skill repository and install the skills you want, in about a minute.
Someone on your team set up a repository of skills. This page gets them into your AI tools. You need the repository name, such as your-org/team-skills, and nothing else.
Open Skills Studio
In OpenKnowledge, expand Skills Studio at the bottom of the file sidebar, then click Explore skills in its header.
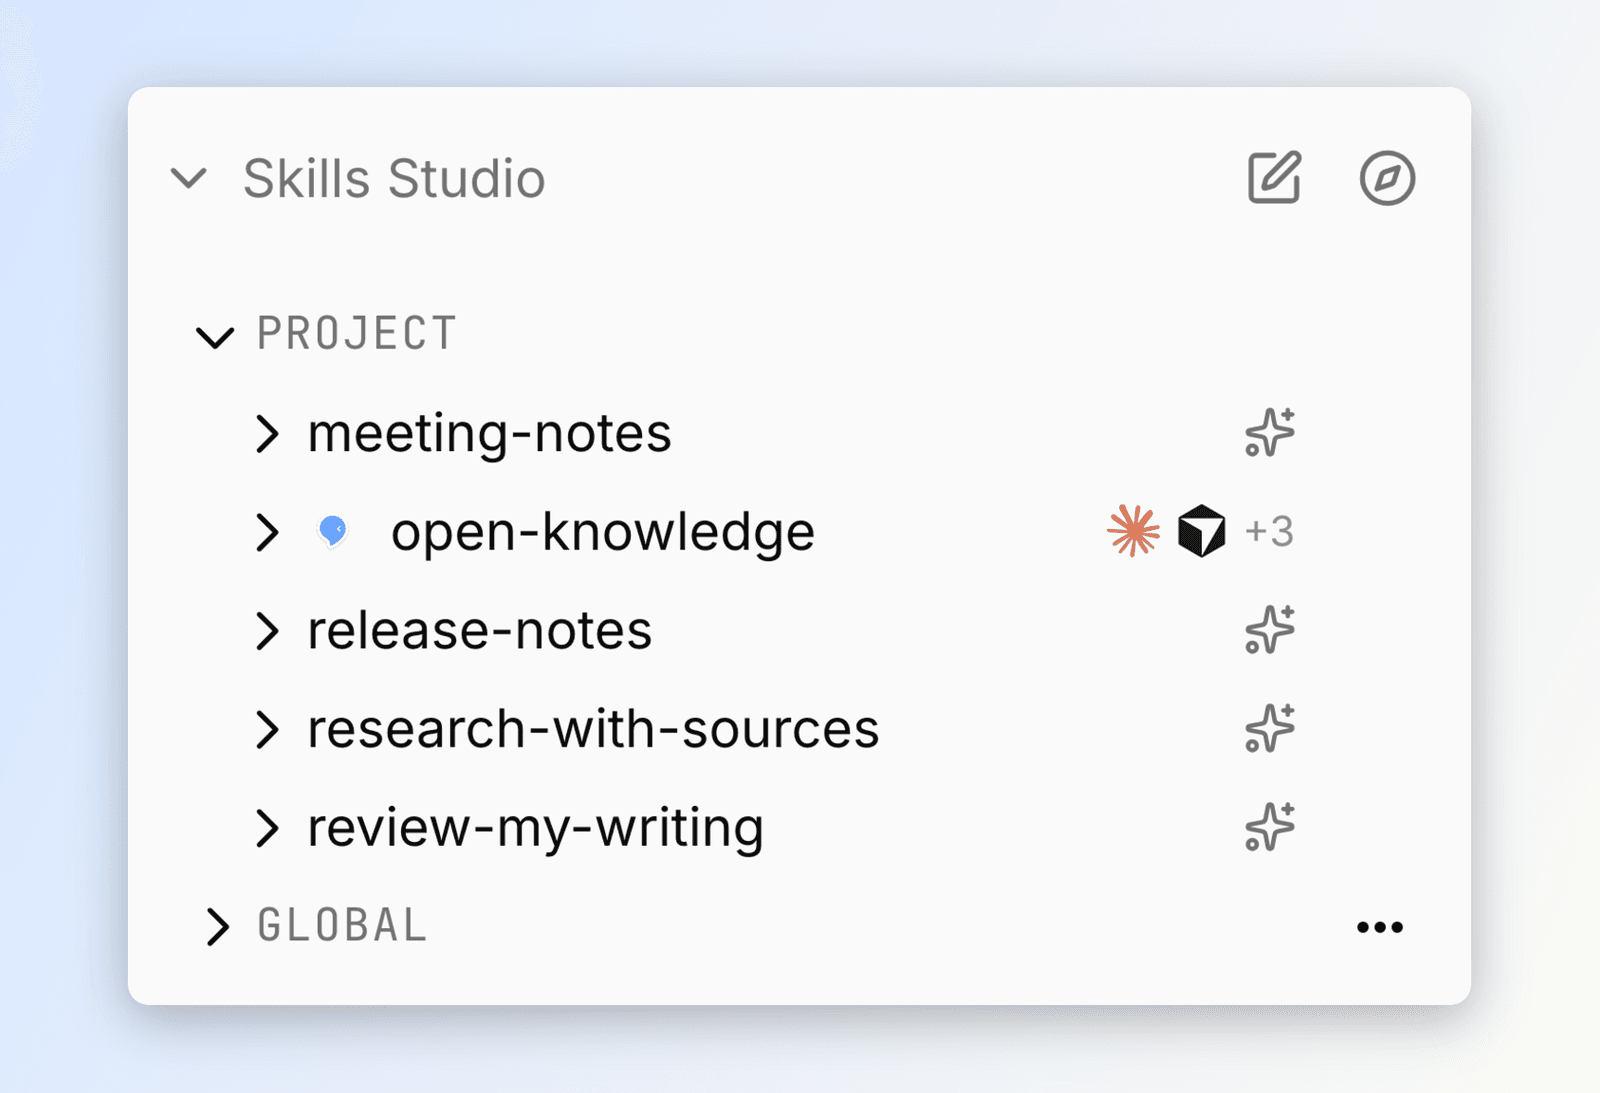
Add the repository
Switch to the Upload tab and paste the repository name or URL. OpenKnowledge reads it and, when the source holds more than one skill, asks which one you want.
Choose the Scope first: Project for a skill tied to this repository, Global for one you want on every project on this machine.
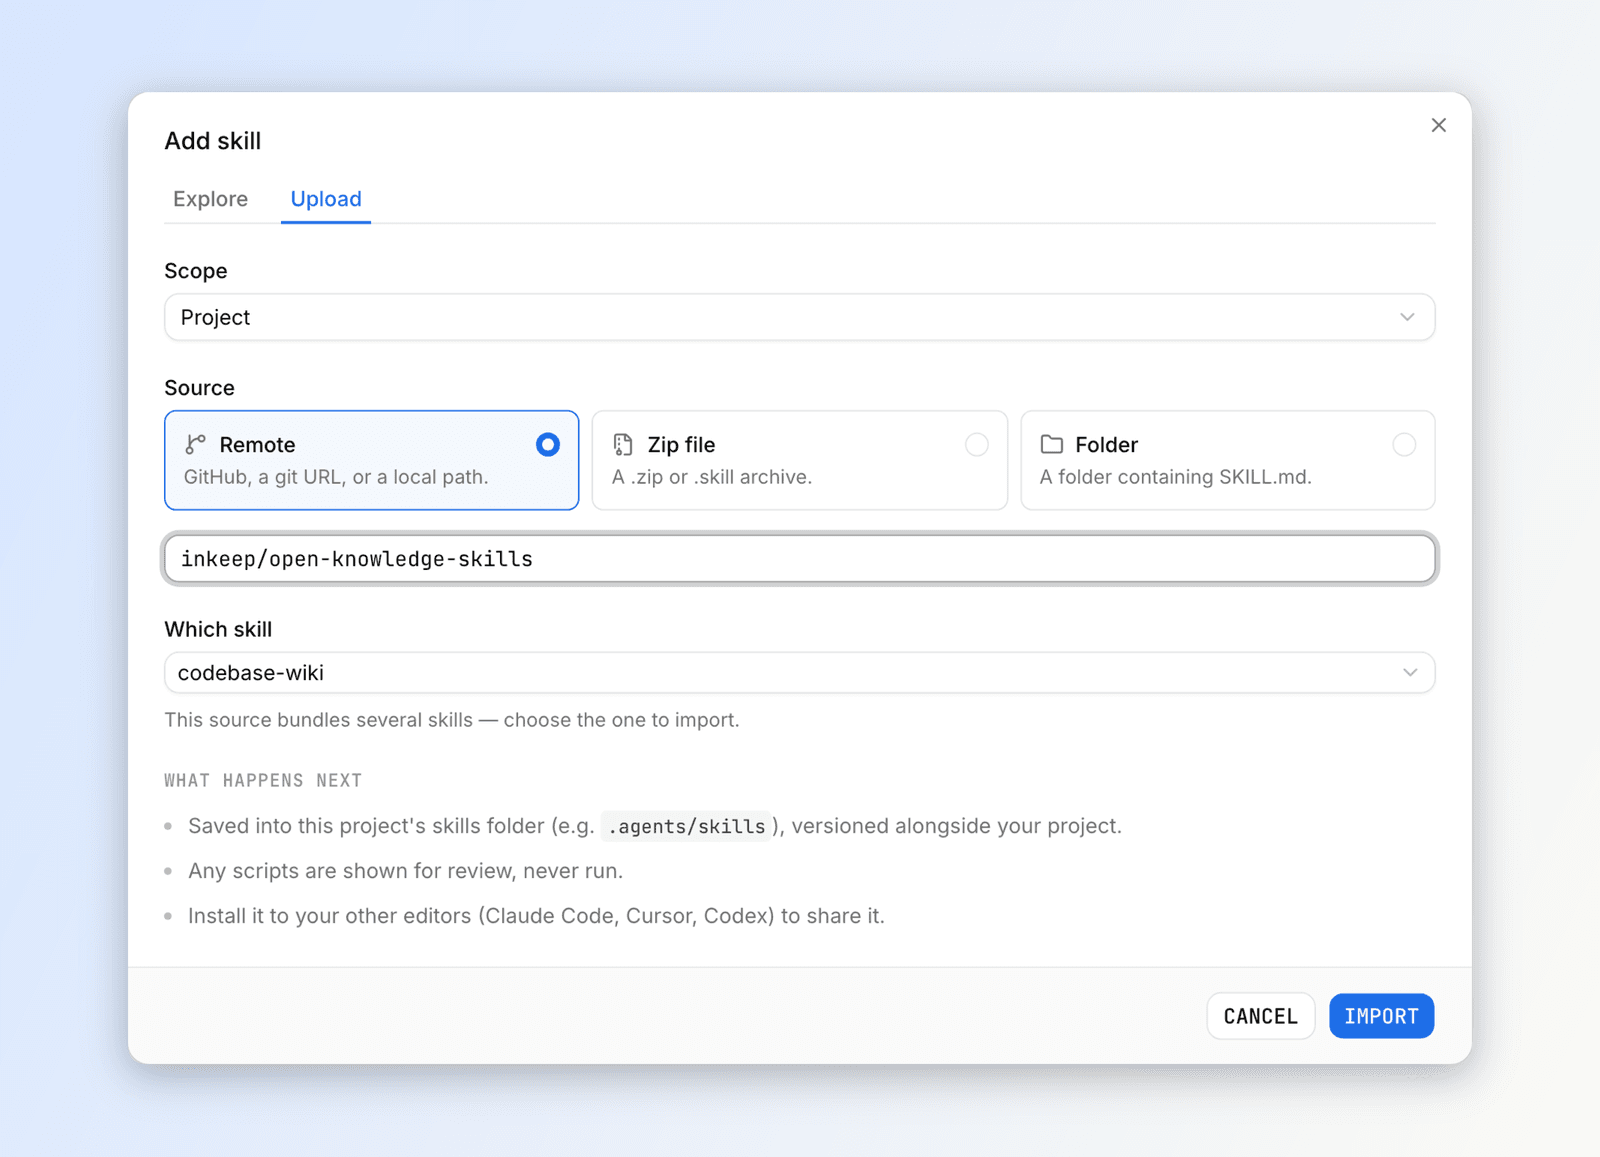
Private repositories work here too, using the git access you already have.
Repeat for each skill you want
Adding the repository does not install everything in it. Import the skills that apply to your work and leave the rest. You can come back for more later.
Choose which AI tools get each skill
Open a skill's Install menu and check the tools that should read it. Each checked location points at the same source, so the skill cannot drift between your tools. Where the system does not allow symlinks, such as Windows without administrator rights or Developer Mode, a location gets a copy that refreshes from the source while unedited.
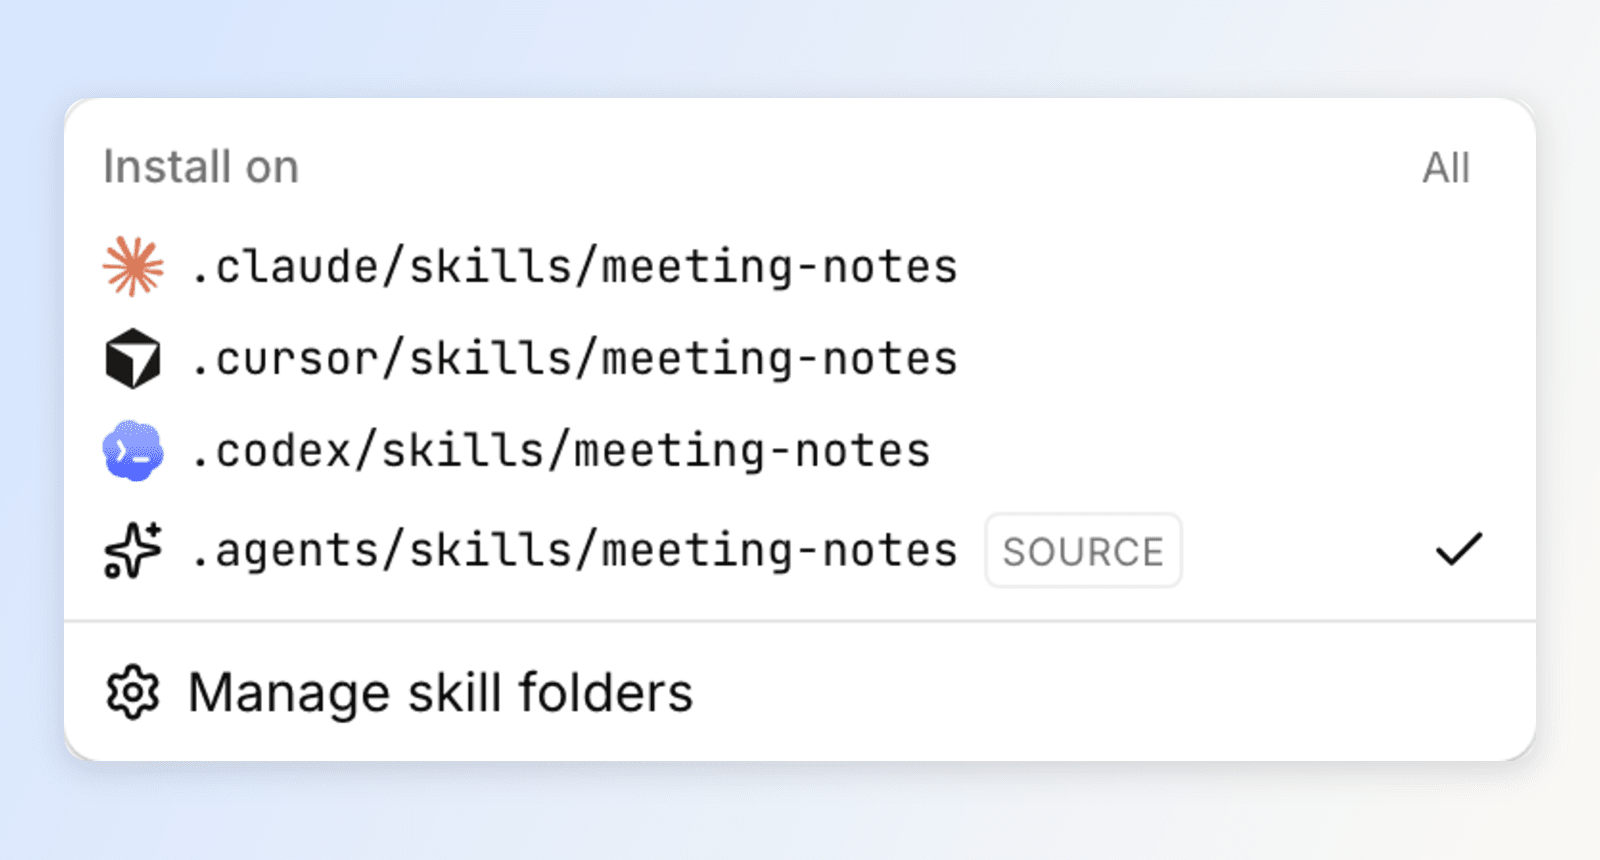
A skill is live the moment it lands. There is no separate step to switch it on: give one of those tools a task matching the skill's description and it will use it.
Next
- Keep team skills current: choose how your teammate's later changes reach you.
- Symlink skills: share a whole folder between two tools instead of picking per skill.